
You are engaged—congratulations! The months ahead will be equal parts excitement and logistics, so the smartest move is to treat planning as one big project with clear phases.
This streamlined checklist walks you through each phase in order, weaving in modern tools that keep thousands of couples organized every year.
Follow it, tweak it to fit your own style, and you will reach the aisle feeling calm, confident, and ready to celebrate.
Set Your Budget First
Money shapes every other decision, so make it your opening conversation. Total up what you and any family contributors can realistically spend, then plug that figure into an online tracker such as WeddingWire’s budget tool.
Break the total into major categories—venue, catering, attire, décor, entertainment—and assign rough percentages to each.
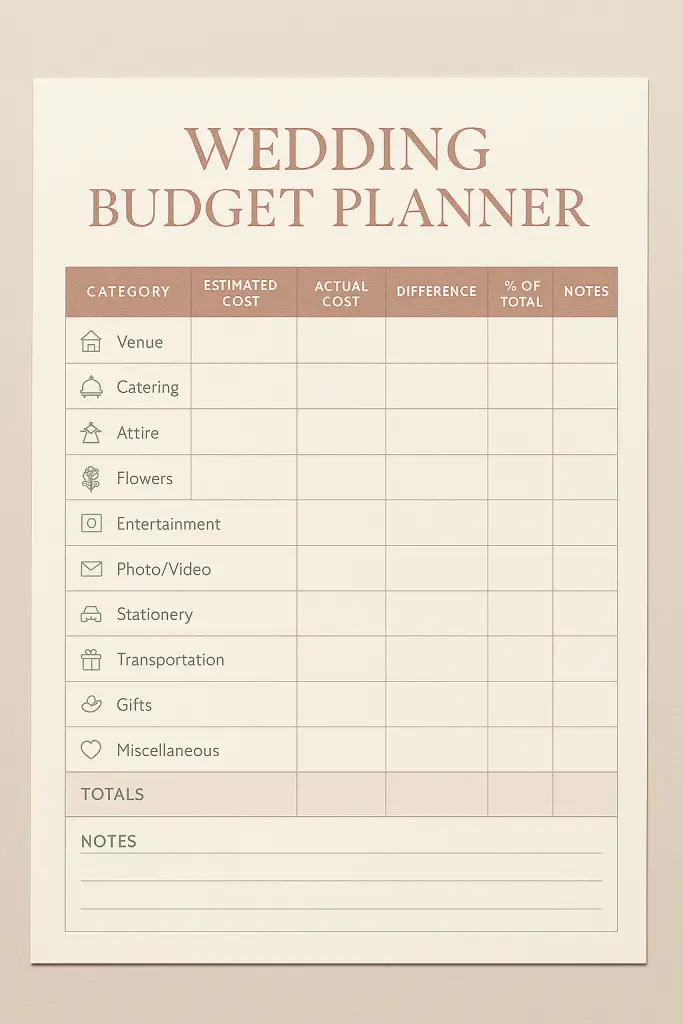
If you are torn about priorities, list two or three “non‑negotiables” together, whether that is a live band or farm‑to‑table menu, and give them extra breathing room while trimming less important line items.
Revisit the spreadsheet every time you sign a contract to ensure you stay on course.
Select Your Date and Venue Early
Popular properties can fill more than a year in advance, so venue hunting is usually Step One after setting the budget.
Begin by picturing the season, region, and overall vibe you want—city loft, country vineyard, coastal resort—then compare availability and pricing for a handful of contenders.
Tools like The Knot offer filters for capacity, style, and price so you can build a short list before booking in‑person tours. During each tour, ask what is included (tables, chairs, sound equipment), what incurs extra fees, and how late you can party.
The moment you find the spot that feels right and fits the budget, secure it with a deposit, because every other timeline task depends on this date.
Shape the Guest List
Drafting the list early helps you match the head count to venue capacity and catering quotes. Start broad—family, close friends, key colleagues—then create an A‑list and a “nice‑to‑invite” column so you can add or trim as RSVPs roll in.
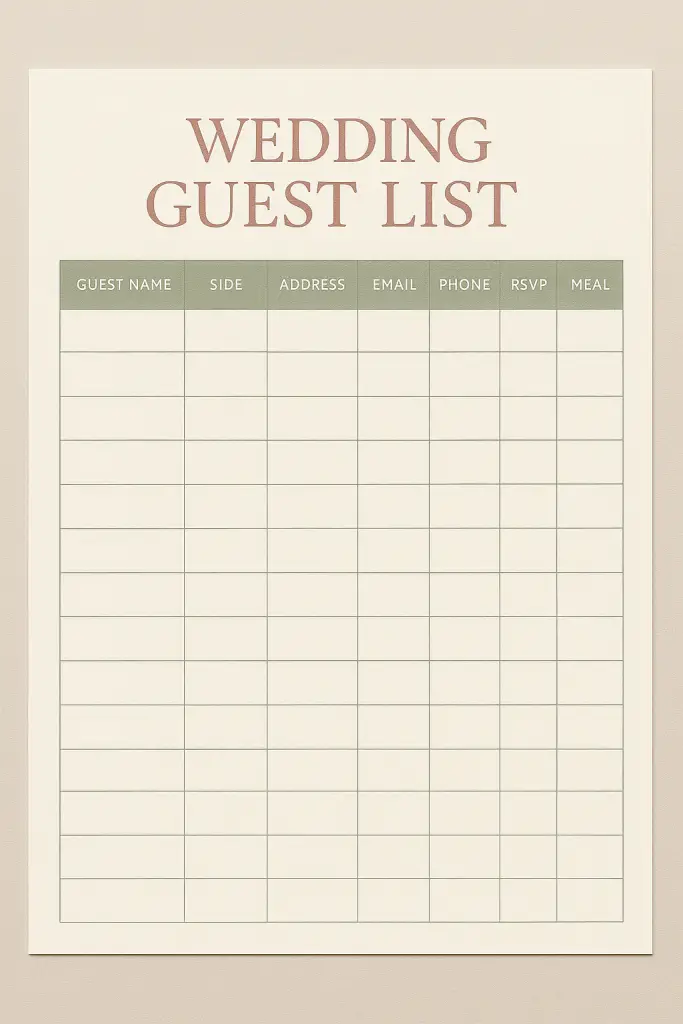
A guest‑list manager on Zola or Joy stores addresses, dietary notes, and seating assignments in one place, updating totals automatically as people reply.
Keep revisiting the list as you tackle later tasks; knowing you are feeding 120 rather than 150 may save thousands on food, rentals, and favors.
Book Key Vendors
Once the date is locked, reserve the professionals whose calendars fill first: photographer, videographer, planner, caterer, and entertainment.
Browse portfolios and verified reviews inside Zola’s vendor directory or The Knot’s marketplace, schedule consultations, and request itemized quotes. Read every contract in detail—payment schedule, overtime rates, cancellation terms—and file payment reminders on your phone.
A strong vendor team doubles as a support system; share your vision early, then trust them to handle the fine print while you focus on the fun parts.
Find and Fit Your Attire
Bridal gowns and custom suits can take four to eight months to produce, so shop soon after booking the venue. Bring inspiration photos, but stay open‑minded: a fabric that suits a winter ballroom may feel heavy at a summer beach ceremony.
Online boutiques like BHLDN and Azazie now offer at‑home try‑ons, and many brick‑and‑mortar salons price‑match online deals.

Schedule alterations about eight weeks before the wedding and a final fitting two weeks out, walking in your shoes to be sure hems fall perfectly.
Send Save‑the‑Dates and Invitations
Digital or paper, your communication timeline matters. For local weddings, mail or email save‑the‑dates six to eight months ahead; for destination events, aim for ten months so guests can book travel.
Formal invitations follow six to eight weeks before the ceremony. Stationers such as Minted and design‑your‑own platforms like Paperless Post let you keep fonts, colors, and motifs consistent across save‑the‑dates, invites, programs, and thank‑you cards.
Include a link or QR code to your wedding website so guests can RSVP online and locate lodging suggestions with one click.
Write a Day‑of Timeline
Begin with your ceremony time and work backward: hair‑and‑makeup start, first‑look photos, guest arrival, and so on. Then flow forward into cocktail hour, dinner service, toasts, first dance, and your exit.
Share the master schedule with every vendor and member of the wedding party. Apps like Aisle Planner generate printable timelines you can hand to vendors on arrival.
When it comes to wedding planning, a documented timeline is your best friend – it's the secret sauce!
A detailed timeline acts as a roadmap for the entire day, outlining schedules for the bride and groom, wedding party, vendors, and even guests. pic.twitter.com/DPemyGKK8Y
— Izuba Planners (@Izuba_) January 30, 2024
Build in fifteen‑minute cushions between major moments so a delayed shuttle or extended toast does not throw the rest of the evening off balance.
Plan Your Honeymoon
Six months out is a sweet spot for locking flights and hotels before prices climb. Check passport expiration dates now and research visa or vaccine requirements if traveling abroad.
If you prefer experiences over physical gifts, create a honeymoon fund through Traveler’s Joy or Honeyfund; guests love the idea of gifting a sunset sail or cooking class.
Stash all confirmations in a shared folder and appoint a friend to guard the documents on wedding day so nothing gets lost in the celebration whirlwind.
Enjoy the Journey
A wedding is more than a single date; it is a season of gathering the people you love, making joint decisions, and daydreaming together about the future.
Treat this checklist as a flexible map, not a rigid rulebook, and lean on your partner, family, and technology whenever pressure builds.
With clear priorities, reliable tools, and a bit of buffer time, you will arrive at the aisle feeling organized and free to soak in every unforgettable moment.